Product Image

120.85 150.99

Surgery Hands Gloves

(4 customer reviews)

Prepare to embark on a sensory journey with the Bosco Apple, a fruit that transcends the ordinary and promises an unparalleled taste experience. These apples are nothing short of nature’s masterpiece, celebrated for their distinctive blend of flavors and their captivating visual allure.

SKU: Bosco-Apple-Fruit Category: Fresh Fruits Tags: FruitsOrganic

Subscribe to out newsletter today to receive latest news administrate cost effective for tactical data.

Let’s Stay In Touch

  • Product Image

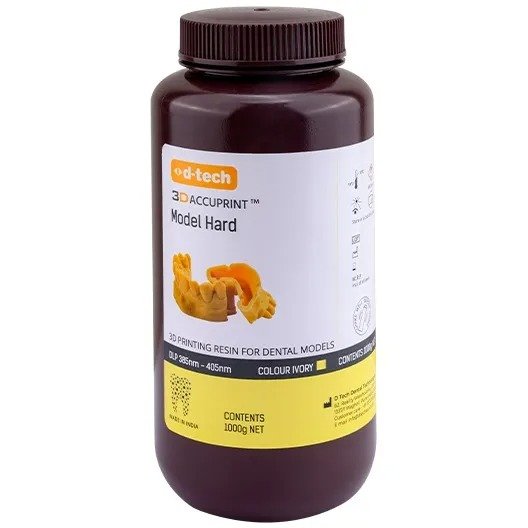
D-Tech 3D Accuprint Model Hard Dental 3D Printing Resin

Dental Laboratory Product

3

Prepare, print, and post-process dental models using Accuprint Model Hard resin

MRP: ₹ 5000.00   ₹ 4495.00

Discount: 10.1% off

Accuprint Model Hard is a light-curing resin specifically designed for 3D printing dental models. It comprises acrylate monomers, oligomers, a photoinitiator, and pigment. This resin is intended for creating high-hardness dental models, especially those with hollow structures, making it suitable for various dental applications. However, it should not be used for purposes other than dental model production, and any deviation from the provided instructions may compromise its quality. Individuals with known acrylate allergies should avoid using this product. Safety precautions are essential, with protective clothing, goggles, and nitrile gloves recommended during handling. Users should be aware of potential irritations upon inhalation, skin contact, eye contact, and ingestion. The resin requires thorough mixing before use to prevent color variation and print failures. The dental model design is provided in STL file format by a dental design service. The printing process involves specific settings, and post-processing includes cleaning and post-curing in accordance with suggested curing profiles. The product is available in Grey and Ivory colors, packaged in a recyclable HDPE bottle. It should be stored at room temperature and disposed of properly, following environmental regulations.

Storage and Disposal:

  • Store at room temperature and keep the cap tightly closed to prevent curing from ambient light.
  • In its polymerized form, it can be disposed of in general waste. In its liquid state (uncured), it should be treated as chemical waste, following local disposal regulations.

  • 1 x 1000g Bottle

Preparation:

  • Wear appropriate protective gear, including nitrile gloves, safety goggles, and protective clothing, to ensure safety during handling.
  • Agitate or shake the resin bottle vigorously for at least one minute to ensure proper mixing. Avoid damaging the material tray film if you're using one.

Design of the Dental Model:

  •  In most cases, dental models are designed and provided in STL file format by a dental-design service or lab after they receive intraoral scans from the patient. Ensure you have the 3D model file ready.

Printing Process:

  • Position the 3D model design in the slicing software, ensuring that the teeth face away from the print platform and that the base lies flat on the print platform. Design appropriate support structures.
  • Apply the printing settings recommended for Model Hard. Consult the printer manufacturer or the provided contact for these specific settings.
  • Make sure the resin tank is securely attached and filled to the recommended resin level.
  • Ensure the print platform is clean, dry, securely placed, and locked on the platform arm.

Post-Processing:

Cleaning:

  • After printing is complete, detach the print objects from the build platform using the supplied spatula.
  • Clean the printed object in a two-step process with isopropyl alcohol (IPA) using a cleaning bath.
  • First, clean the print object for 2 minutes in a reusable IPA solution.
  • Then, thoroughly clean the print object for 2 minutes using a fresh IPA solution.
  • The entire cleaning process should not take longer than 5 minutes, as extended exposure to IPA could affect the print objects.

Post Curing:

  • Remove support structures if they are present.
  • Ensure the printed object is not deformed.
  • Post-cure the cleaned print objects in a post-curing chamber to achieve the required material properties. Follow recommended curing profiles based on your equipment. For example, Asiga Flash Cure for 30 minutes or Ackuretta Curie for 10 minutes.

Add a review

1 2 3 4 5